Sunday, October 30, 2011

A Kid Favorite: Ravioli Lasagna

 I came up with this dish on a whim and my kids are crazy about it.  It's SO easy!  I made a couple of pans and froze them.  I stock up on aluminum tins at the Dollar Store and use them for freezing my extra meals.  

Recipe:
 1 jar tomato sauce.  
A quick tip:  Liven up jarred sauce by sauteing some olive oil and garlic in a saucepan.  Add oregano and basil to the pan until fragrant, then add the sauce and simmer.  Ummmm... hello garlic!  Can you tell I love it??
 Cook the ravioli as directed.  Place a cup of tomato sauce in the bottom of the pan, then arrange a single layer of ravioli over it.  Top with a layer of shredded cheese.  Repeat the layers of tomato sauce, ravioli, and cheddar cheese.  I like to use a couple of different kinds of ravioli.  
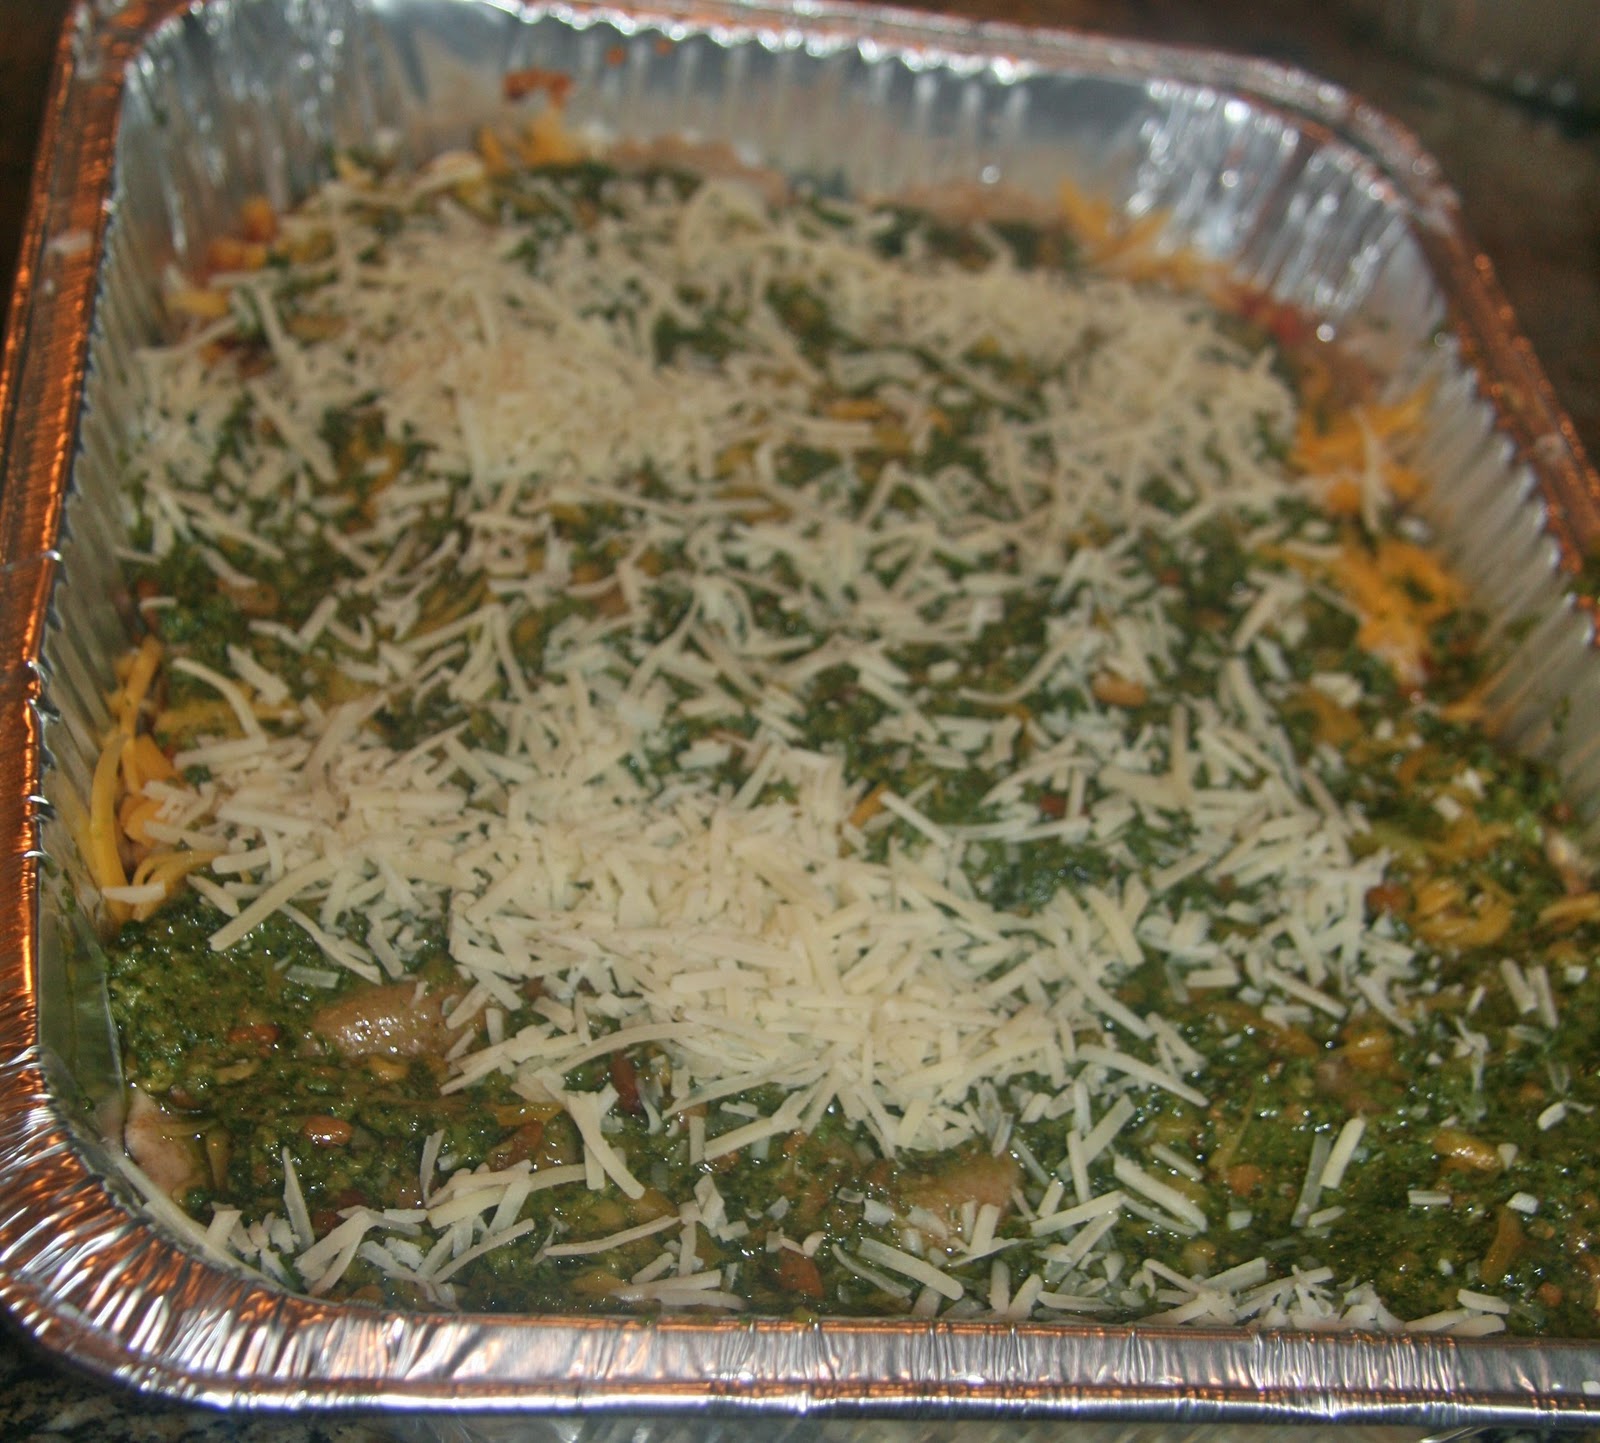
 For the top layer, spread a layer of pesto sauce and top with parmesan cheese.  
 Cover with foil, and bake at 350 degrees for 30 min..  Remove the foil and let the cheese brown on top.  Serve and watch it disappear!
Recipe:
1-2 jars tomato sauce - -depending on how saucy your family likes it
2 packages ravioli
1/2 block cheddar cheese (or around 3 cups)
1 jar pesto
3/4 c. parmesan cheese

Friday, October 28, 2011

Fruit Leather Fun: Make your own

Homemade fruit leather is easy to make.  Puree fruit and dry it!  That's it!!  I love being able to use our over ripened fruit for this so that we don't have to throw it away.  The texture, nutritional value, and ease of the homemade leathers makes it well worth the time.  
Step 1:  Select your fruit and wash it thoroughly.  
Step 2:  Peel, if you want.  I like to keep the skins on for fiber and nutritional value.  Chop into pieces.
Step 3:  Put fruit pieces in a blender and puree until smooth.  Add a little lemon juice and sugar (if desired).  You may gently cook the mixture in a saucepan to dissolve the sugar.
Step 4:  Pour the puree THINLY onto a fruit dryer rack or onto a rimmed baking sheet that has Silpat silicone sheets underneath.  You may also put plastic wrap underneath if you don't have silicone sheets.
Step 5:   I use the Excalibur Food Dehydrator.  Here is a picture of it.  It is a workhorse for drying everything from apples to beef jerky.  I love mine and use it all of the time, but if you can't buy one, no worries.  Put the fruit leather into an oven at 140 degrees and bake until it is completely dried.  If you are using a dehydrator, follow the directions for your particular dryer.  


Tuesday, October 25, 2011

Caramel Apple Cheesecake bars

Fall delicioiusness on a plate is what this is. 
An original Paula Dean recipe, it's worth the effort.  

Ingredients

  • 2 cups all-purpose flour
  • 1/2 cup firmly packed brown sugar
  • 1 cup (2 sticks) butter, softened
  • 2 (8-ounce) packages cream cheese, softened
  • 1/2 cup sugar, plus 2 tablespoons, divided
  • 2 large eggs
  • 1 teaspoon vanilla extract
  • Granny Smith apples, peeled, cored and finely chopped
  • 1/2 teaspoon ground cinnamon
  • 1/4 teaspoon ground nutmeg
  • Streusel topping, recipe follows
  • 1/2 cup caramel topping

In a medium bowl, combine the flour and brown sugar.  
Pre-heat the oven to 350 degrees.  
Press evenly into a 9x13 baking pan lined with foil.  
Cut in butter with a pastry blender until mixture is crumbly.
Bake 15 minutes until crust is lightly browned.  
In a large bowl, beat cream cheese with 1/2 c. sugar in an electric mixer.
Add eggs, one at a time, and vanilla.  Stir to combine.
Pour over the warm crust.

In a small bowl, stir together chopped apples, remaining 2 tablespoons sugar, cinnamon, and nutmeg. 
Spoon evenly over cream cheese mixture. 


Sprinkle evenly with Streusel topping. 


Bake 30 minutes, or until filling is set. Drizzle with caramel topping.

Streusel Topping:


  • 1 cup firmly packed brown sugar
  • 1 cup all-purpose flour
  • 1/2 cup quick cooking oats
  • 1/2 cup (1 stick) butter, softened
  • In a small bowl, combine all ingredients.
Yield: approximately 3 cups

My favorite caramel recipe:
1 c. sugar
1/2 c. brown sugar
1/2 c. light corn syrup
1 1/2 c. cream
4 Tbsp. butter
1 tsp. vanilla
Combine all ingredients except vanilla in a saucepan.  Cook and stir over medium heat until it boils.  Continue cooking until it reaches 248 degrees on a candy thermometer.  Remove from heat and add vanilla.  Store in a canning jar in the refrigerator and re-heat to soften.

Thursday, October 20, 2011

The Right Tool for the RIght Job: PRODUCTIVE!

The Fly Lady taught me that when I get up, I should make my bed, put on my tennis shoes, and FLY to the laundry room to get a load started.  It works.  She has many other tricks that I'm sure would make my life more productive, but these three have stuck.  If you find me at home at any time of the day, you will find me in these.... even in a skirt (I put my other cute shoes back on when I go back out into the world):
Tennis shoes are my not-so-secret tool for getting more done in my day.  I don't know what it is, but as soon as I put them on, I work SO much better.  I'm not kidding.  I go from snail to cheetah in a flash.  It's weird, but it works!
Here's the next one:

Got yard work to do?  Put on gloves.  Even if you are going out for just a little while.  You will get 2x the amount done.  It's something about being able to attack the task with a vengeance and not really touch anything. ;)

Even better, pull out the gardening apron.  This is my darling friend, Tammy, who loves to work in the dirt as much as I do.  She keeps all of her tools handy in the pockets.
Lots of dishes to do, or cleaning?  Oh yes..... with such cute options in rubber gloves these days, why not??   There is no doubt that cleaning toilets isn't half as bad with these pink babies on.  
Oh and don't forget the MUSIC!!!  
It makes everything more fun!!
I know this is the simplest concept, but it really does make a difference:  Choose the right tool for the right task, and watch the magic happen :)


Monday, October 17, 2011

Woodland Pumpkins

 We have a big fall party every year, and instead of carving pumpkins, we use nature to decorate them! Every one is so unique, and kids can easily work independently (no knives involved).  
 We use low-heat glue guns, sticks, moss, leaves, hay, berries, pinecones, flowers, pine boughs....
 basically anything and everything we can find out in the woods!  
We LOVE this tradition, and they welcome neighbors on our front porch all throughout the season!


As seen on: http://todayscreativeblog.net/


all crafts Homemade Projects ~ Add Yours {10/18}


Photobucket


Friday, October 14, 2011

Veggies for a Week

Vegetables take some time don't they?  Washing, peeling, cutting.  I like my family to eat vegetables for snacks and for dinners, but sometimes I just don't feel like preparing them come dinnertime.  I've come up with a solution that works for me.  I do all of my vegetable prep in one day for the week.  I prepare all of the "side veggies" (not lettuce), and put them in a bowl.  I then wash, spin, and chop all of the greens and put them in ziplock bags with a couple of paper towels to absorb the extra water.  I do this for any herbs also.  It is so handy to just grab it all out the crisper and have a salad ready in 2 minutes!

Monday, October 10, 2011

APPLE DAY!!

 Apple Day has been a long standing tradition in our house.  This picture makes me want to cry because it is from a couple of years ago, and I just cannot stand how fast they are growing up!  It makes me realize how special this day is in creating all of the warm feelings of fall -- the smell of apples cooking, a pumpkin spice candle burning, Vivaldi playing in the background (my favorite canning music for some reason), happy noises coming from the kids working together, and the familiar "pop" of canning lids sealing.  It truly is a day that makes me HAPPY HAPPY HAPPY.  It's all that good in life!
Apple Day begins here:
 We are fortunate enough to live close to one of the most beautiful orchard areas in the Northwest:  Greenbluff.  Hansen's Orchard is owned by family friends, and we think they have the absolute BEST apples & cider on the Bluff!


We try to time it so that we process the apples in the same week they are picked.  I learned this the hard way some years back.  The apples are much harder to work with after they have softened up even a little bit.  
 Here's why.  This fantastic gadget peels, cores, and slices the apples.  If they are hard, it is a snap.  If they are soft.... it turns to a mushy, mashy mess.
                                                     
 We make chunky applesauce.
 Dried Apples.


 And the very favorite:  APPLESAUCE
 

 OK -- this is a close favorite runner-up:  APPLE CRISP.

 I couldn't resist putting in this picture from Apple Day last year.  So much love going around -- warms a mama's heart it does!!
 Ohhhh ya -- this one too: APPLE PIES

It's a lot, I know, and make no mistake -- we are exhausted by the end of the day, but it's that good kind of exhausted.  The kind that lets the heart and body know that it has been a day well spent.  Those are the best kind!